
 |
| Aerial view of the Eroudeville map. North is down. |
In the map above north is down. The US forces are approaching from the south east with two distinct infantry elements, which I’ve named “Left” and “Right” in blue. Their goal is to exit the map to the north west, in the yellow area marked Exit. The Right element has at least one forward observer for off-map artillery, a fact I’m keeping in mind as it’s the only real threat to my Flak Guns at this time.
Infantry Right made contact with my middle unit, a large infantry company with an anti-tank weapon at the Entrenchment, which is dug in with sandbags in a V-shape facing south east into the teeth of the US advance. Contact occurred at a hedgerow near the Tank Platoon around turn 20 with a US heavy machine gun firing at the southern arm of the trenches. My Entrenchment element pushed them back. These last few turns Infantry Right has been working their way to my right (their left). My Flak Guns along the right flank, supported by a few MG teams in pillboxes, have seen them advancing but have been so far unable to engage.
 |
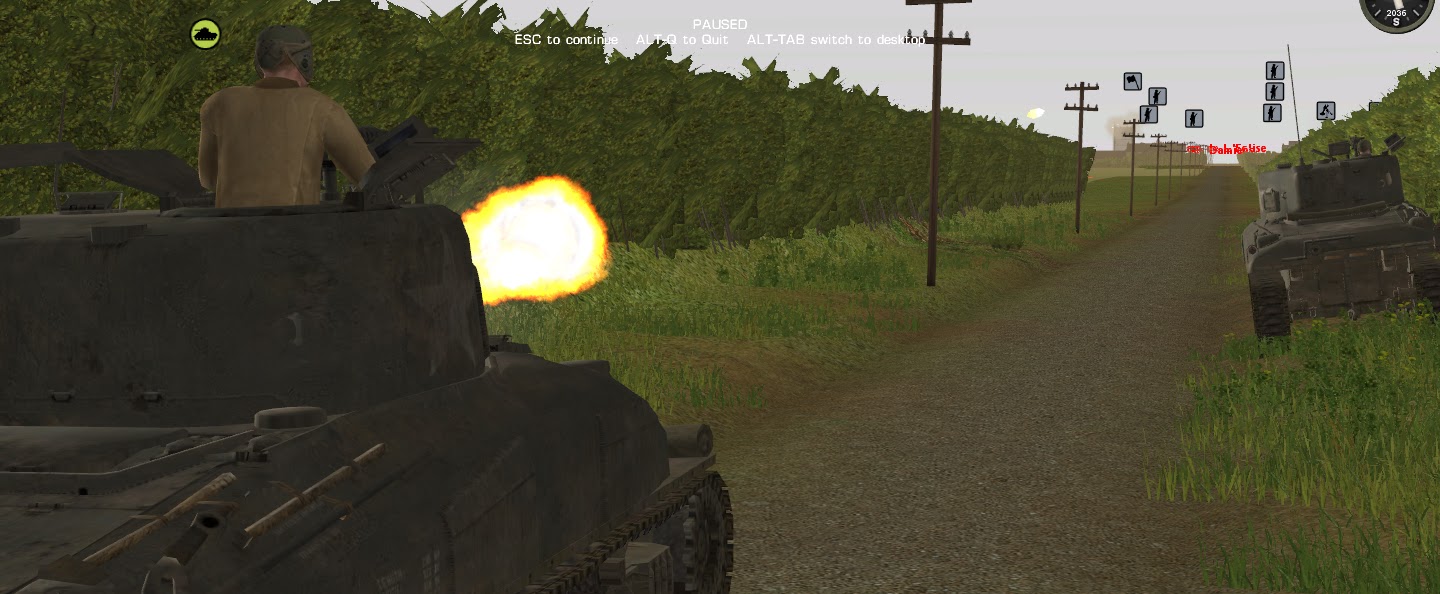
| SwampYankee's tanks showed up on turn 26. There's at least five of them, some standard and some big 75mm upgrades. |
During the 26th turn a tank platoon, a mixed group of large and medium caliber Shermans, came in from off map at the road.
 |
| I'm not sure if he can see my spotters across the map in the ruined church, but he's going to make sure no one is there by the time he's through. |
They began this turn, the 28th, by pounding my command unit deep on the northern edge of the map. This unit, a heavy weapons company leader from my Main Element, had been perched in a ruined church trying to bring artillery fire down on Infantry Right.

Two well-placed 75mm shells from an M4 Sherman took down two of the three men, and drove the surviving radioman all the way down to the bottom of the church where he no longer has eyes on the spotting rounds coming in. I’m unsure if the artillery unit off map received enough spotting information to complete their fire mission. We’ll see next round, but at this point it’s out of my control.
Above in the aerial view you’ll notice two orange X’s on the map. These are pre-zeroed artillery targets that allow me to bring nearly immediate fire from off map within 50 yards of center, instead of waiting the standard of 7 to 9 minutes to walk rounds in. I placed them here along the mid point of the two axes of advance to my Main Element in Eroudeville proper at the north east edge of the map. I figured if the Entrenchment fell that team could retreat, under covering fire of MG teams in Eroudeville and the flak guns from the right, and pull the US forces into the kill zone where my artillery would quickly destroy them. I’m now wishing I’d placed those zeroes further south to quickly bring fire to break up the American advance as it began, but I can’t change that now.
My Forward Scouts are there along the left flank, and my first post (Eroudeville Turn 22) had much to do with their first contact with US Infantry Left. So far they have killed at least a dozen Americans from the Left group. All other casualties across the map, if there have been any, are so far hidden to me.
My Forward Scouts are there along the left flank, and my first post (Eroudeville Turn 22) had much to do with their first contact with US Infantry Left. So far they have killed at least a dozen Americans from the Left group. All other casualties across the map, if there have been any, are so far hidden to me.
 |
| This BAR rifleman from Infantry Left is bringing accurate fire at my retreating scouts... |
 |
| ...but only gets of a few quick bursts before two MG teams in my Main Element suppress him. |
Their continuing their organized retreat toward the main element. The MG team was the last to leap frog back, and came under accurate fire from a US rifle team from Infantry Left in the second story of a farmhouse. Multiple MG teams from my Main Element opened up on the rifle team and suppressed them enough that the MG team was able to complete their run unscathed.
 |
| My 81mm mortar team moves to the east, followed my their ammo bearers on the right side of the image. The hedgerow in the upper half of this image contains Stacker and Stager, dug in and providing cover fire for the MG team. The BAR rifleman is in the farmhouse at the upper left. Notice the smokescreen being laid down on the right flank. The US is advancing there near the road. |
They’ll take up positions with Stacker and Stager while an 81mm mortar team sets up. The Americans have a smoke screen in front of Infantry Left along the road, and this mortar team will be hoping to blunt that assault and pin the attackers in the open so the MG teams can cut them down.
 |
| Scouts in the foreground retreat from contact, which is firing on them from outside of the frame to the right. They'll take up position behind a few more layers of hedgerow. The reserve platoon seen on the left side of the image is moving west... |
A team of scouts that I moved up saw multiple elements of Infantry Right slide around to flank the Entrenchments. Since the Flak teams can’t seem to get a shot I’ve sent a reserve platoon around the Entrenchments to the right flank.
 |
| ... where they'll serve to lengthen the line of the entrenched team and prevent them from being flanked. They'll be supported by one MG-42 behind sandbags that sits behind the main line of the entrenchment explicitly for this purpose. |
My goal is to have the Entrenchment hold to Infantry Right’s advance as long as I can, hopefully long enough to make SwampYankee expose his Shermans to my tank gun positioned there. If I can get one or two tanks with that gun it will be a victory for that position, and I can drop smoke from off map and retreat the Entrenchments to the north west under cover of the Flak Guns. Then, try to lure the Americans into my artillery trap there along the right side of the map.
No comments:
Post a Comment